How to Clean Shower Panels in 7 Steps

Once you have invested in a modern and sophisticated shower panel for your bathroom, its maintenance is the key as shower panels can also get damaged easily if not maintained properly. You might think that they get washed with water anyway every day so it is not necessary to clean them but this is a myth. You need to clean your shower panels regularly to avoid the soap and the dirt build up in the fittings. To make it easier for you, this is how you can clean your shower panel in 7 easy steps:
1. Remove all products and rinse the unit once with plain water
First of all, remove all products lying on the shelves of the bathroom before you start cleaning the panels. Creating this empty space will help you move around more easily while cleaning the shower panel systems and will protect the product bottles from falling or breaking during the cleaning session. Remove any shampoos, conditioners, body lotions, razors, and loofahs etc that can get damaged due to the chemical cleaning solution. Remove toothbrushes especially as these can cause health risks if exposed to chemical agents.
2. Remove mildew and stains using a shower cleaner
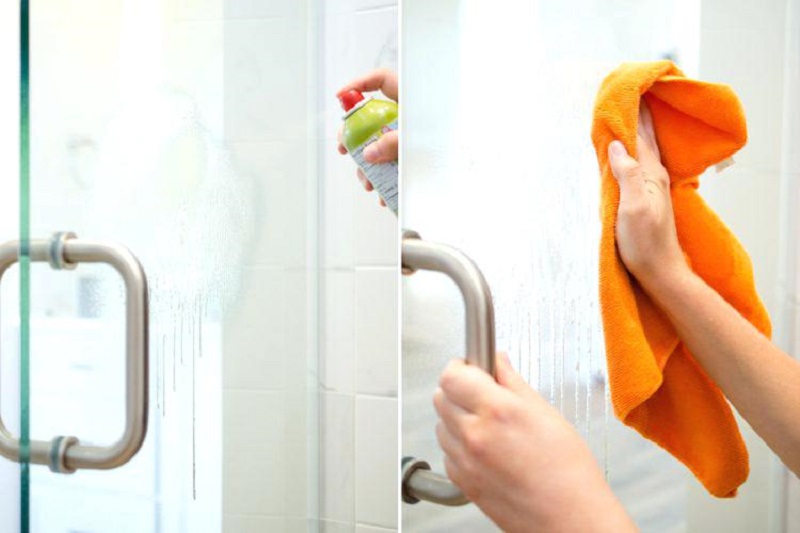
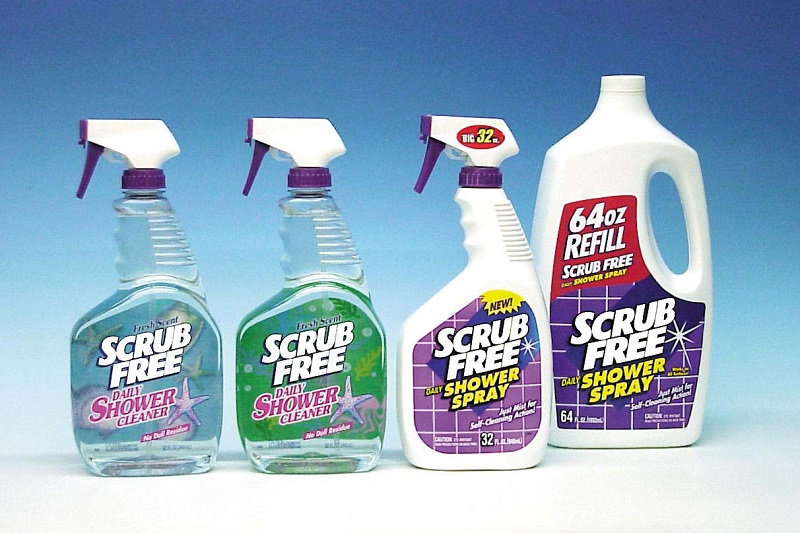
After giving an initial rinsing to the whole shower area including the panel, it is time to address mildew issues. Mildew deposits are a common problem in bathrooms and they not only look unsightly but are unhealthy for humans also. For removing these deposits, it is advisable to use a shower cleaner spray which you can buy from the market or make at home. Just mix equal parts of vinegar and hot water to make this spray. Use it to remove mildew deposits and hard water stains from the panel. Spray this mixture on the panel and wait for a few minutes for it to dissolve deposits.
3. Remove the shower head and handheld shower to clean them
Once the mildew and mold deposits are taken care of, take the overhead shower heads and the handheld shower heads out from their assembly as per the instructions and soak them in a cup of vinegar for a few hours. This will dissolve all salt and limescale deposits and will make the shower heads shine as new. Do not fit them back immediately. Assemble the shower heads again only after the cleaning session is completed.
4. Avoid using harsh cleaning agents
One thing that most people tend to forget is that the regular bathroom cleaning acids are not at all suitable for cleaning the delicate metallic shower panel. These acids can corrode the metal and generate fumes that can be harmful to the health of the family members using the shower area. This can damage even the best shower panels. Always use a mixture of mild vinegar and warm water to clean the panel and other metallic fittings.
5. Rinse the panel and the surrounding tiles with warm water
Once you have cleaned the mildew deposits and soap suds accumulated on the panel with the shower cleaner, rinse the whole panel and the adjoining tiles with warm water as steam loosens the dirt settled on the tiles. You can also use a scrub brush to clean the tiles before rinsing them to get rid of all the grime between the tiles.
6. Clean the drain and the shower glass walls
If you are using a drain catcher to get hold of hair and soap suds, just clean it and rinse it before putting it back in its place. If not, use a drain cleaner solution to unclog the drain easily. Clean the shower glass walls and bathroom wall panels with the same vinegar mixture and rinse them for a clean and tidy look.
7. Wipe the unit dry and let the room remain ventilated
So now that you are done with the whole cleaning routine, it is time to wipe the unit dry to avoid any stains of water. You can use any clean towel or wipe to complete this step. Keep the windows of the bathroom open at all times during the process to let out all the cleaning fumes and steam.
We hope you enjoyed reading through this detailed guide on how to clean a shower panel in 7 simple steps to keep your bathroom clean and healthy.
-
-
-
-
/ 0 Comments